


DIFFICULTY: Average
![]()


Uncertainty affects humanity, never more so as it does now. The existing COVID-19 pandemic has increased uncertainty about the economy, job growth, finances, and overall health of course. But we still need to feel safe. We want to feel secure and feel in charge of our lives and health. Coping with stress in a positive way can improve our current situation, the people you value for, and your environment. One way to make your stay at home more productive is by improving the aesthetics of your workplace. This will not only motivate you to work but will show the creative side of you.
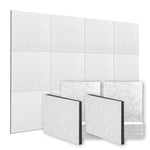
Installing acoustic panels does not end in lining them up in straight lines and alternating color combinations. The design options for foam installation are limitless. Make Anything, a YouTube Design and 3D Print content creator shares the creative result of his acoustic panels installation. In his video, you can see that being creative does not end in arts and entertainment. You can also be creative when you are installing acoustic treatment in your studio or workplace. If you own 2 color tone combinations of the acoustic panel, you can transform it into a creative and unique style that cannot be found elsewhere. This is the right time to exercise your creative side!
To create cool acoustic foam patterns, you can follow the instructions below:

STEP 1
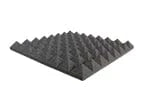
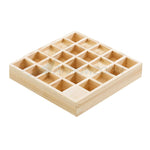
Draw patterns using a pen or paper or you can use apps if you have advance knowledge. You can try drawing different styles and choose the best layout that suits your wall and also, that's the great part about Arrowzoom Pyramid Acoustic Panels. It is easy to cut. This step will also help you avoid any mistakes when installing the foams.

STEP 2
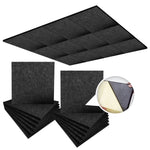
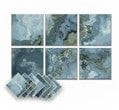
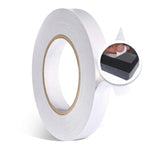
Layout the design on cardboard and install foams using an adhesive spray or Arrowzoom Sticky Tabs. Make sure this procedure is done in a well-ventilated environment. The drying will take just a few minutes, depending on the form of adhesive used.

STEP 3
The panels are mounted crucially so that they can be as successful as possible. The best position for the panels is to position it behind your setup. This positioning should help avoid the amplification of echo from the microphone. When sticking to the wall, a regular frame nail may be used to place the board with foam panels. To ensure, you may need to place a secondary nail at the bottom of the board. A tiny image nail between the foam tiles will move through the foam board to connect to the ground.


It can be frustrating to be at home all day. One thing that might help is to decorate your new workspace to your liking. Customizing your own acoustic foam setup can be also a great way to release your stress and you can also make your installation experience to be more exciting by exercising your creative side. Work from home scheme comes up in different types, styles, and budgets. Creating some form of dedicated virtual work atmosphere would help you maintain a flexible work-life balance or a distraction-free atmosphere while you at home.
USE 10% CODE: AZ-MAKE