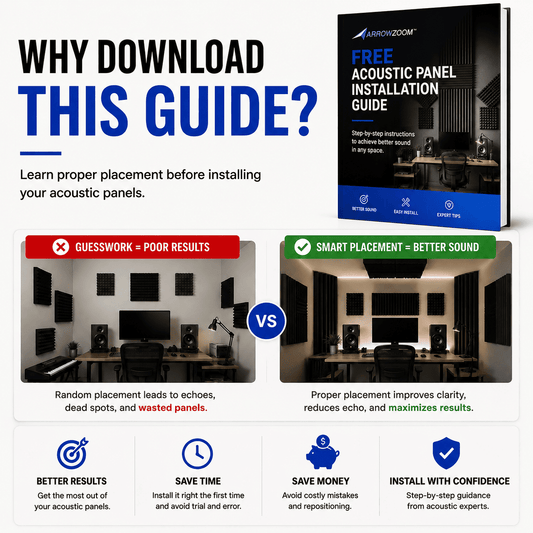


If your room sounds echoey or unclear, acoustic panels can make a huge difference.
But the real impact comes from where you place them, not just how many you use.
With proper placement, even a small setup can sound significantly more professional.
Treat First Reflection Points

This is the most important concept in acoustic treatment.
Sound reflects off nearby walls and returns to your microphone. These are called reflection points.
To reduce echo, place panels on:
- wall behind your microphone
- walls beside your desk
- area behind your speakers
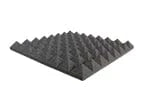
Using panels from Arrowzoom helps absorb these reflections and improve clarity immediately.
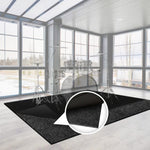
Place Panels Behind Your Setup

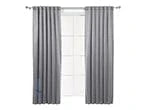
The wall behind your desk is one of the biggest reflection sources.
Placing panels here helps:
- reduce echo
- improve voice clarity
- create a cleaner recording environment
This is especially important for:
- streaming
- podcasting
- video calls
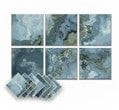
Treat Side Walls for Better Balance

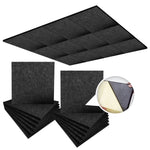
Side walls reflect sound directly back toward your mic.
Adding panels on both sides creates a more balanced and controlled sound.
Even a few panels here can noticeably improve your audio.
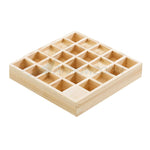
Don’t Forget the Corners

Corners trap low frequencies that can make your audio sound boomy.
Adding corner treatment helps:
- reduce low-end buildup
- create a more even sound
- improve overall recording quality
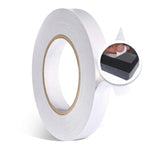
Ceiling Placement (Optional but Powerful)

If you want to level up your setup, treat the ceiling above your recording position.
This reduces vertical reflections and makes your audio even cleaner.
Final Tip: Start Small, Place Smart
You don’t need to cover every wall.
Start with:
- behind your mic
- side walls
- behind your setup
Then expand as needed.
With the right placement, a few panels can transform your room
Upgrade Your Sound with Arrowzoom
Ready to improve your audio quality?
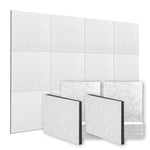
Explore premium acoustic panels designed for creators, streamers, and home studios:
Or start with best-selling acoustic foam panels here