

Soundproofing FAQs
Frequently Asked Questions
How do I soundproof my wall against noisy neighbours? 🤫
How do I soundproof my wall against noisy neighbours? 🤫
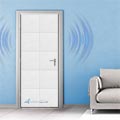
Soundproofing aims to prevent sound from entering or leaving a room, like blocking noise from those pesky neighbours. For more tips, check out our guide on soundproofing against noisy neighbours! 📖
How many Acoustic Panels Do I Need?
How many Acoustic Panels Do I Need?
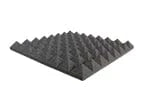
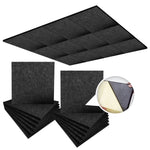
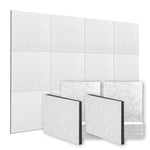
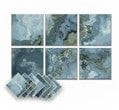
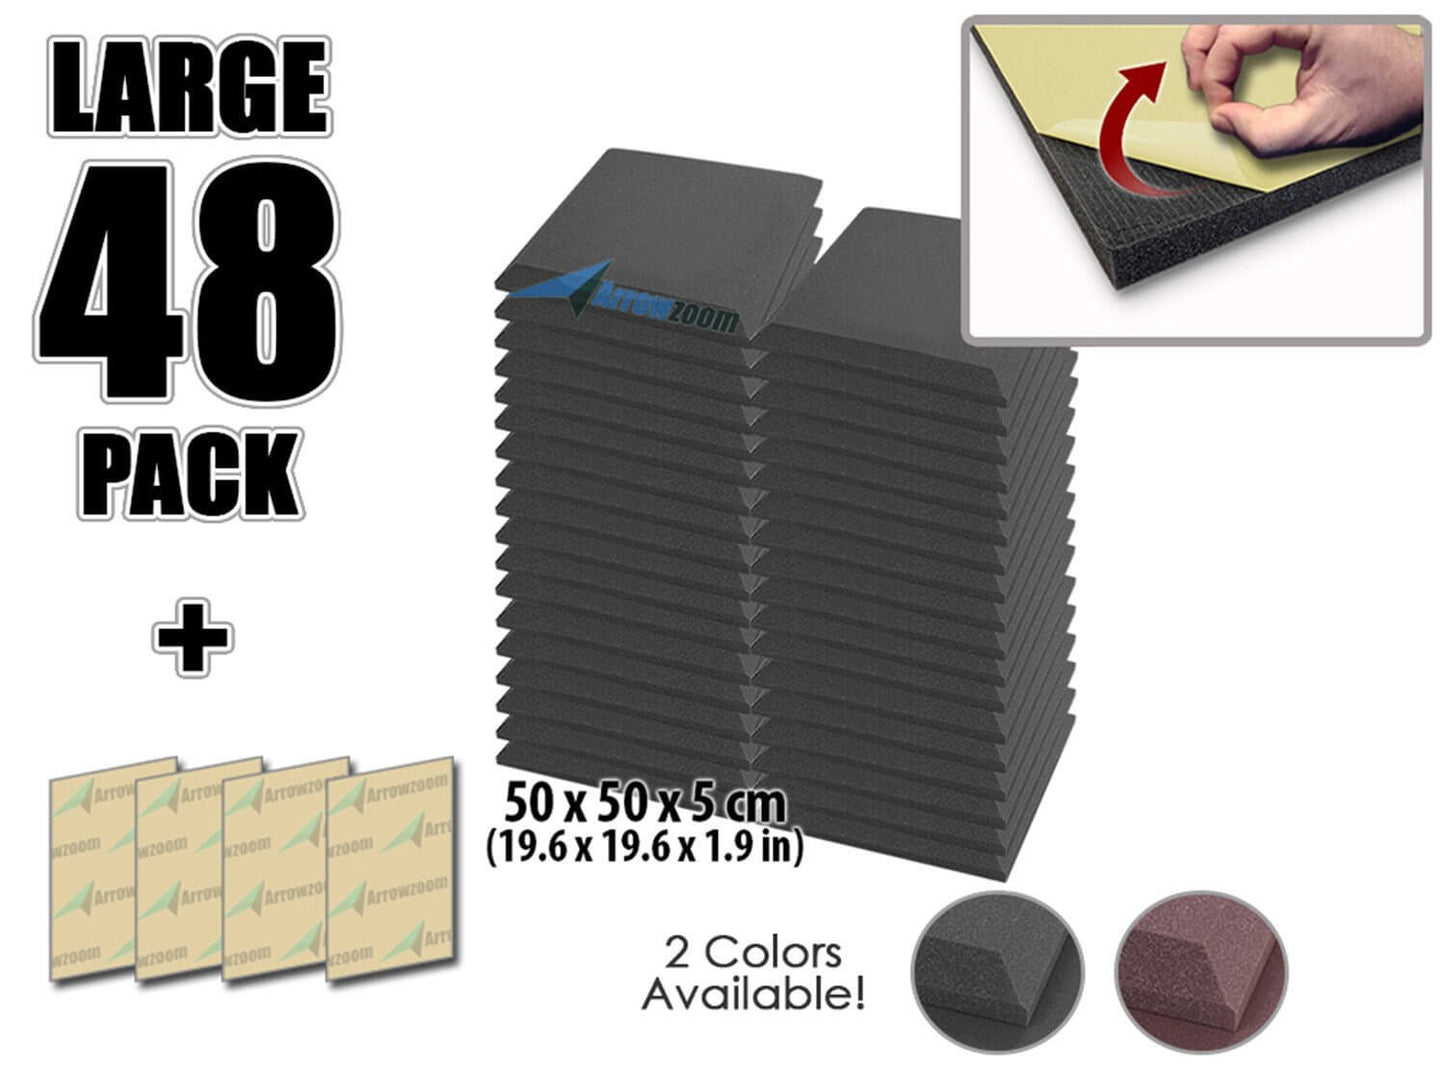
The first step is going to be installing acoustic panels on your walls. These reduce the reverberations and echoes in the space.
Use our Free Tiles Calculator to find out
How do you install soundproofing? 🔧
How do you install soundproofing? 🔧
There are two main options for installing our DIY soundproofing solutions, and we're here to support you every step of the way!
DIY Installation:
All of our systems are DIY-friendly, saving you on installation costs.
80% of customers install the systems themselves because we’ve made it easy!
We provide simple, step-by-step installation guides and videos for a hassle-free experience.
Our technical team is ready to answer any questions and offer support. We're here for you! 🤗
Use a Local Contractor:
You're on your way to a noise-free home! If DIY isn’t an option, consider hiring a local tradesperson.
We simplify the process by communicating directly with your tradesperson throughout the installation.
Visit our installation page for more details! 📞
What's the difference between impact and airborne noise? 🔊
What's the difference between impact and airborne noise? 🔊
1. Airborne Noise
- This travels through the air, like conversations, TV sounds, or barking dogs. When sound waves hit a building, they cause it to vibrate, transmitting through the structure.
2. Impact Noise
- This results from physical impacts on buildings, such as footsteps, slamming doors, or moving furniture. Impact noise can be harder to isolate, as these vibrations are stronger and travel further through dense materials.
What are decibels? 📏
What are decibels? 📏
Decibels are measured logarithmically (not as a percentage) . This means that every increase of 10dB on the scale is a tenfold increase in sound pressure level (SPL) . Near silence is 0dB 🤫, while a sound at 10dB is ten times louder!
- 30-40 dB = Soft music, whisper 🎶
- 60-80 dB = Office noise, traffic 🚗
- 85-100 dB (HARMFUL) = Subway, shouted convo, chainsaw ⚠️
- 100-140 dB (DANGEROUS) = Chainsaw, loud concert, racing, shooting range 🚨
Is everything in stock and ready to ship? 📦
Is everything in stock and ready to ship? 📦
In stock, ships in 1-2 business days! Learn More
Where Is My Order?
Where Is My Order?
Track your order: Check your email or visit our Tracking Page.
FREE & FAST GLOBAL SHIPPING 🚚
30 DAYS RETURNS ✅
24/7 Live Support 📞
FREE & FAST GLOBAL SHIPPING 🚚
30 DAYS RETURNS ✅
24/7 Live Support 📞
FREE & FAST GLOBAL SHIPPING 🚚
30 DAYS RETURNS ✅
24/7 Live Support 📞
FREE & FAST GLOBAL SHIPPING 🚚
30 DAYS RETURNS ✅
24/7 Live Support 📞
FREE & FAST GLOBAL SHIPPING 🚚
30 DAYS RETURNS ✅
24/7 Live Support 📞
FREE & FAST GLOBAL SHIPPING 🚚
30 DAYS RETURNS ✅
24/7 Live Support 📞
FREE & FAST GLOBAL SHIPPING 🚚
30 DAYS RETURNS ✅
24/7 Live Support 📞
FREE & FAST GLOBAL SHIPPING 🚚
30 DAYS RETURNS ✅
24/7 Live Support 📞
FREE & FAST GLOBAL SHIPPING 🚚
30 DAYS RETURNS ✅
24/7 Live Support 📞
FREE & FAST GLOBAL SHIPPING 🚚
30 DAYS RETURNS ✅
24/7 Live Support 📞
FREE & FAST GLOBAL SHIPPING 🚚
30 DAYS RETURNS ✅
24/7 Live Support 📞
FREE & FAST GLOBAL SHIPPING 🚚
30 DAYS RETURNS ✅
24/7 Live Support 📞

